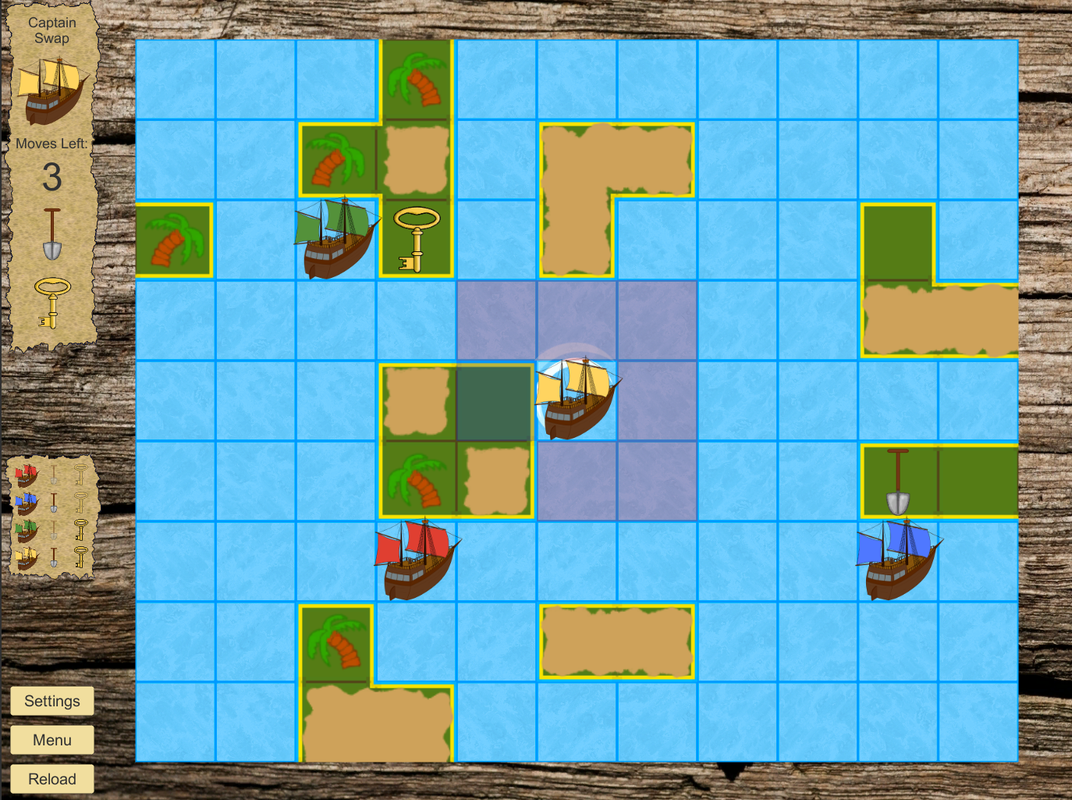
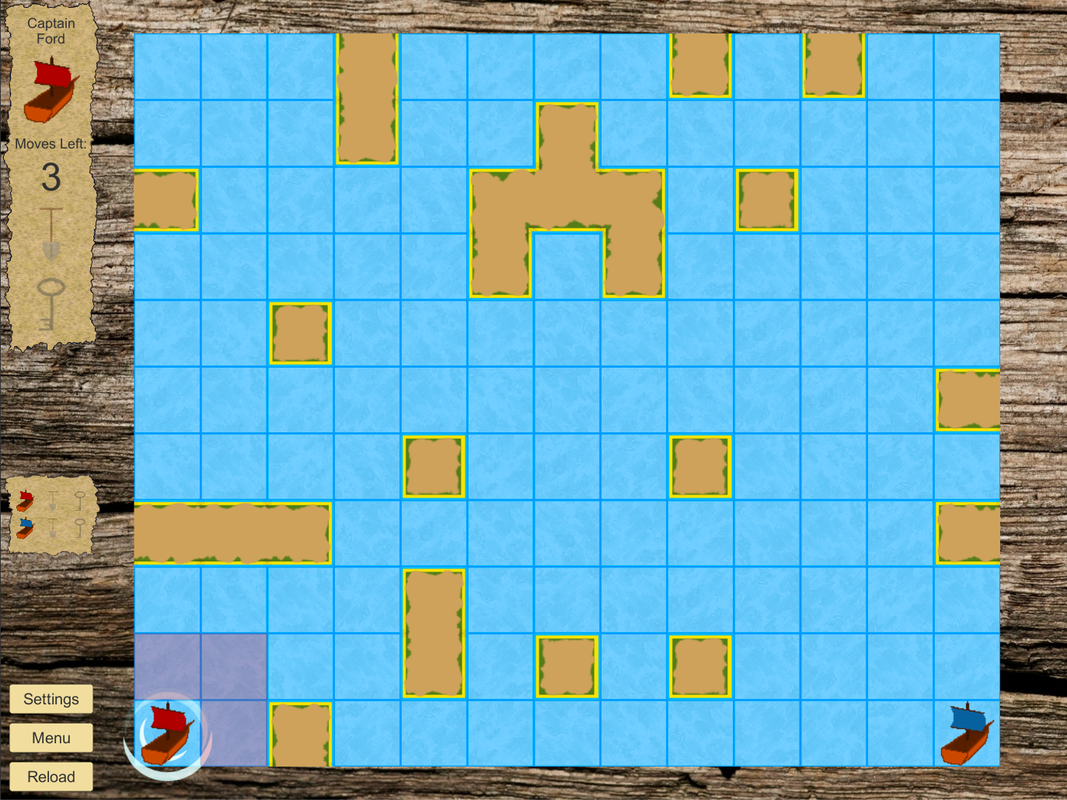
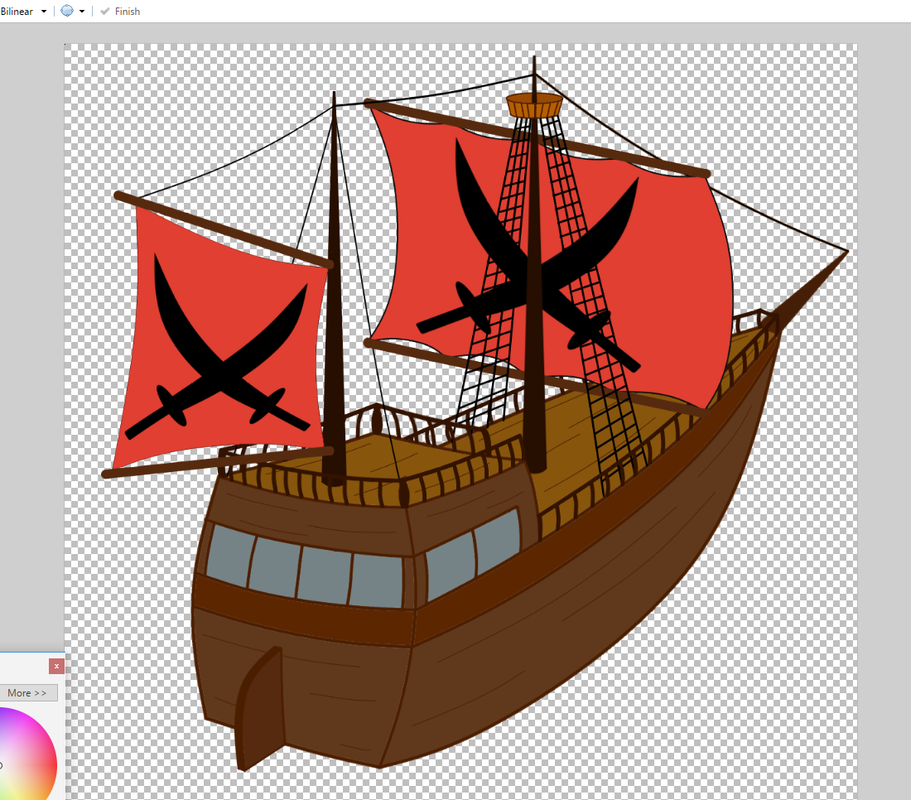
Another week and there is more progress to show for Key, Shovel, Treasure. As I said last week, that's one of the advantages of working on visual stuff. Actually, the visual stuff is nearly done now. For the in-game sprites, only the treasure is left:
 Shouldn't be hard to spot the low-res treasure sprite.
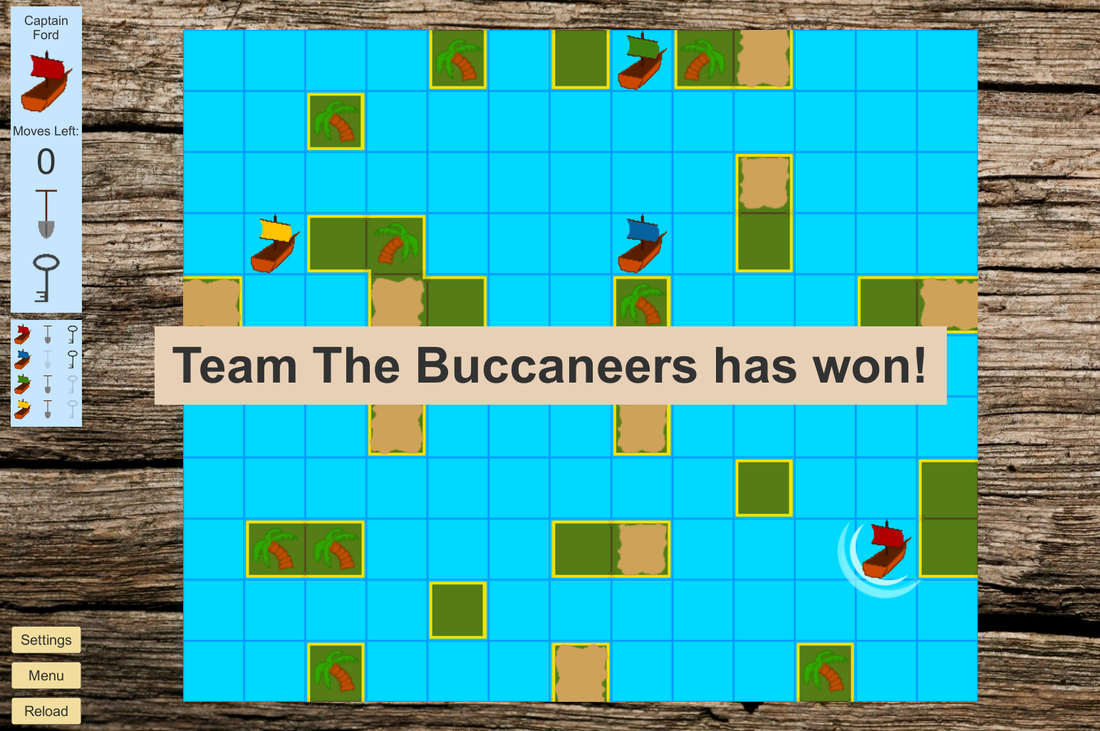
 So what's new compared to the last update? Mostly, the lands have had an overhaul. Here's a comparison of the old and the new look:

As you can see, all lands were square and had no texturing. In order to make the land tiles look better, they at least need shore lines that aren't straight. Also, some subtle surf around the beaches helps to soften the transition between land and water. So I spent an afternoon figuring out how best to create these effects.
One disadvantage of having better looking shorelines is that repetition becomes an issue. As long as all your shorelines are straight, with sharp 90 degree corners, this is no problem. But if a more wavy coastline is repeated, it becomes more difficult to ignore that some shores are the same. Apparently there has to be a balance between naturalness and repetition for things to make visual sense.
The solution is simple enough: draw multiple sprites for each type of land and randomly select which one to use when generating the map. I figured that three sprites per type of land would be a good number, which turned out to be correct for all lands except the peninsulas (peninsulae?) that have one land neighbour. Tose requires six versions to prevent repetition. But that did mean drawing 24 lands and also 24 covers for the undiscovered tiles. I wanted the covers to exactly overlap the lands so the surf is also visible around undiscovered lands.
Even with a good workflow this is a lot of work, so I spent some time looking for a way to automate the process. I use Paint.net for creating artwork, which works really well but doesn't have a macro function. And as far as I could find, there's no plugin that adds macros. This led me to search for an external program. After some experimentation, I settled on AutoHotkey.
As the name implies, AutoHotkey allows you to create new hotkeys for general use. You can add scripts to these hotkeys and sends things like key commands and mouse clicks. I created an AutoHotkey script that creates a land, the surf and a land cover starting from an outline of the coast.
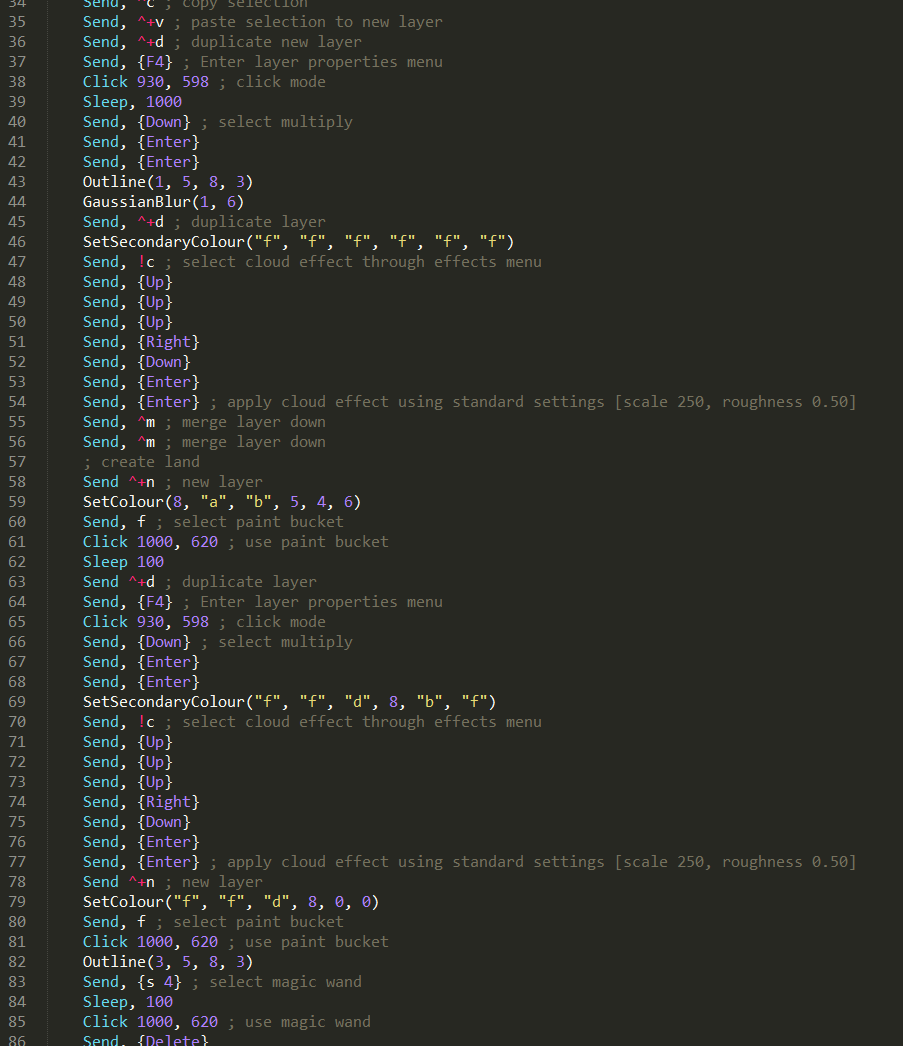
Part of my .ahk code for generating land sprites. There are probably a ton of things in there that could be done more elegantly and/or efficiently. For instance, I just noticed that I could have written "Send, {Up 3}" instead of three times "Send, {Up}". But the goal here was to write something that works. Which it does. Mostly :).
Of course, this wasn't as simple as I would have liked (nothing in gamedev ever is it looks like). For instance, it took me some time to figure out that some operations in Paint.net don't get completed instantly every time. This causes problems, since AutoHotkey sends the next command immediately. Having your script fail only part of the time instead of consistently makes it a lot harder to figure out what is going on. Adding some 100 millisecond sleep commands in a couple of places fixed this issue for me. But it's quite possible that with a different (faster?) PC, this wouldn't even have cropped up.
Another problem was that my script kept clicking in places that were not at the coordinates I specified. A logical culprit was that the script was using the Window CoordMode, which calculates the coordinates relative to the active window, instead of the Screen CoordMode, which looks at the absolute coordinates on the screen. The fact that the colour palette in Paint.net is its own window pointed in that direction as well. But I also found that the default setting for CoordMode is the correct one: Screen. So the CoordMode couldn't be it and I searched on. What I should have done instead was test this by adding the line "CoordMode, Mouse, Screen". When I did that, it quickly became apparent that the default (for my script at least) wasn't set to Screen and the bug was fixed. I guess that's another programming lesson learned :).
Something that came in really handy was an Autohotkey script that displays the current cursor coordinates (by Jackie Sztuk_Blackholyman on the AutoHotkey board), since I needed a way to determine where to have AutoHotkey click. Makes me realize that having an active and engaged community is one of the greatest assets a program like AutoHotkey, Paint.net or Unity3d (or many games for that matter) can have.
Eventually, I got the script to work 90% (or so) of the time. Which is good enough for my purposes, since I'm not planning on using the script regularly. The time I saved probably is insignificant, but I did learn a lot about scripting with AutoHotkey in the process, even though I hadn't heard of it before last weekend. Funny where gamedev can take you. The big advantage of having this script is that if a land shape I made doesn't really work in game, I can now easily redo it. Also, if I want to change how the lands look, for instance change the colouring, I can simply change a part of the script an re-run it for the lands I made.
Seems I'm more and more getting into the habit of thinking like a programmer. And looking at things with the eye of a (nit-picking) artist:
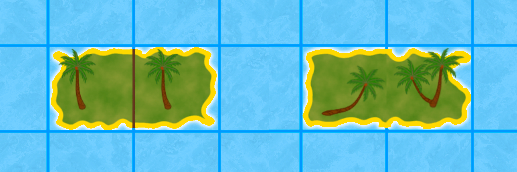
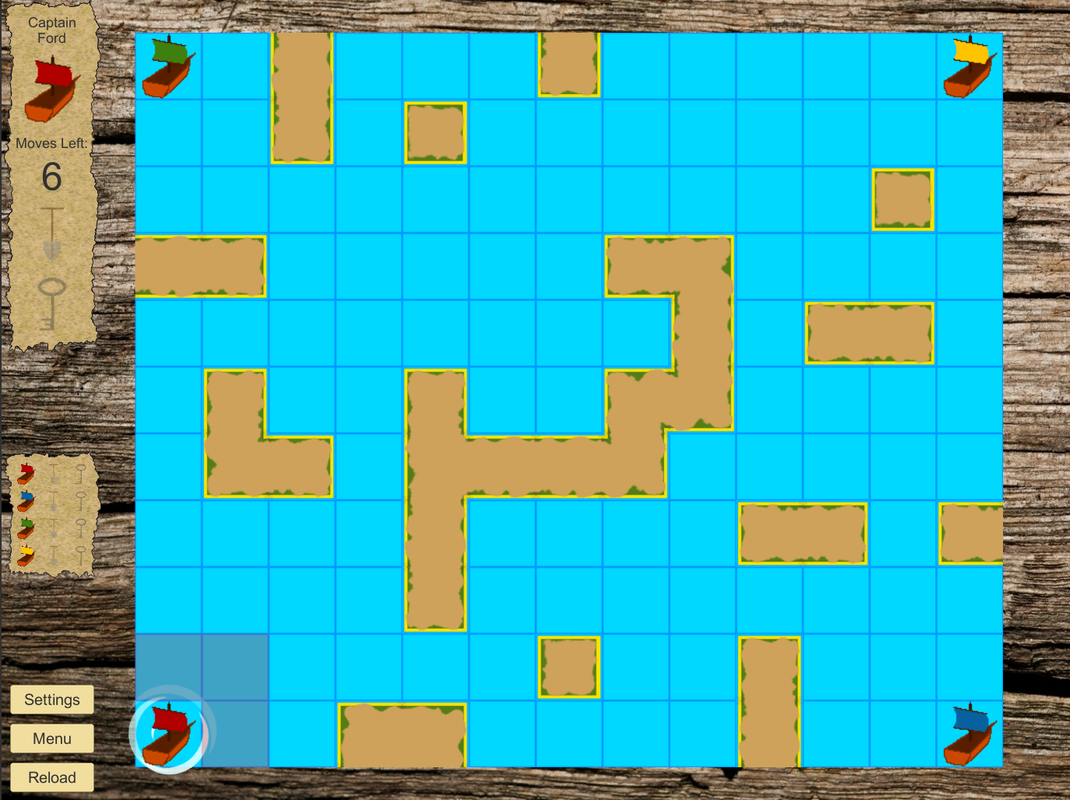
This is a comparison of two options for the lands: with and without a border between the tiles. I was wondering which of these looks best, so I asked Michiel for his opinion on this. He told me he preferred the version without the borders, but also that in the (full game) screenshots I sent him, he was hardly able to tell the difference. I'll just tell myself that looking at smaller and smaller issues is a sign of progress.
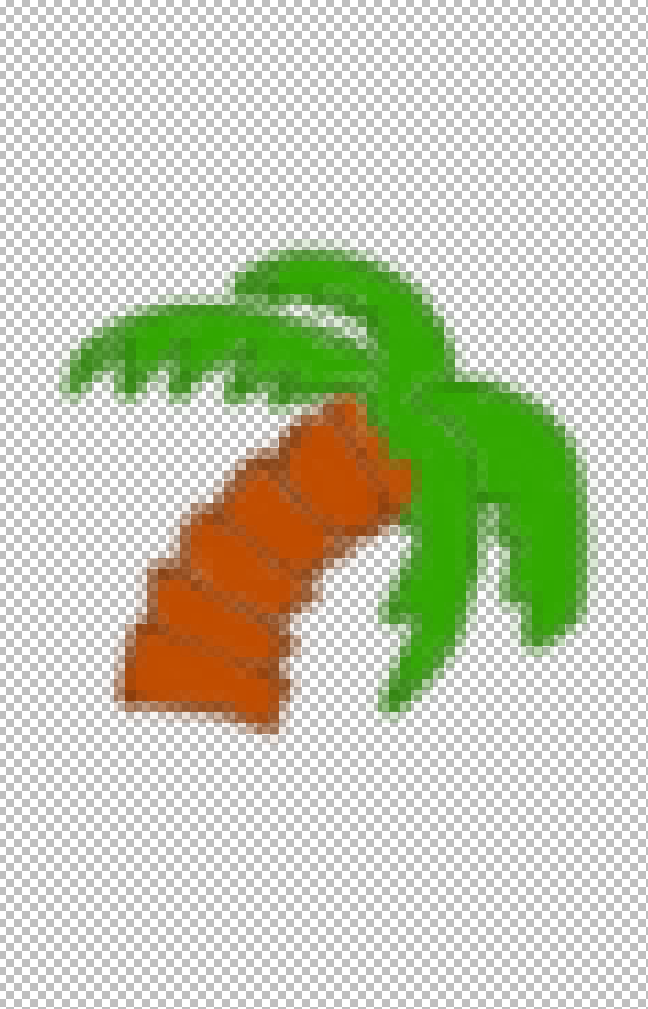
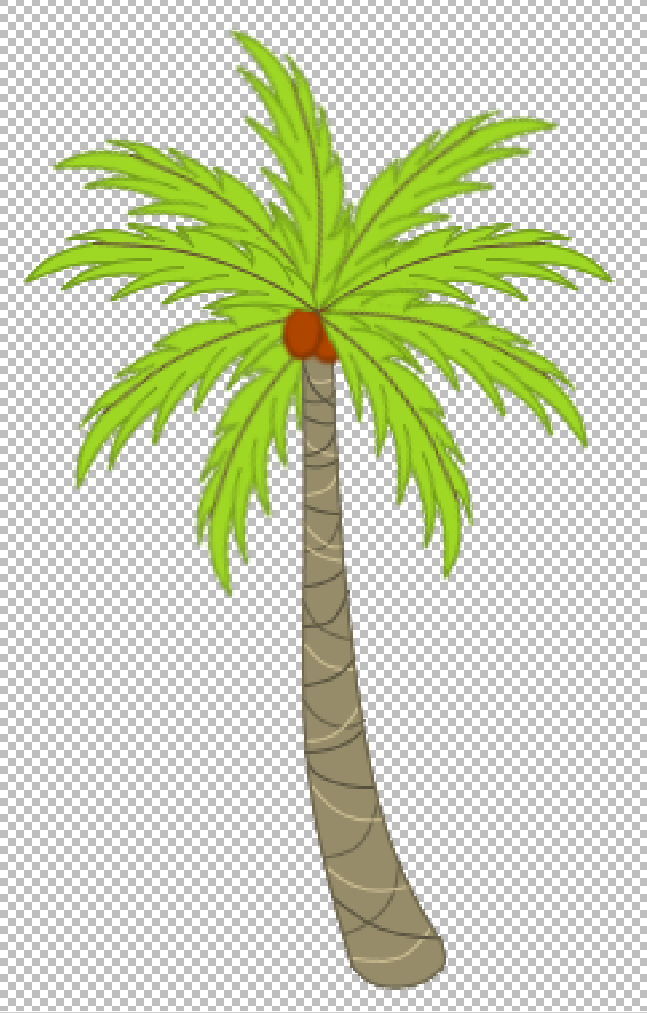
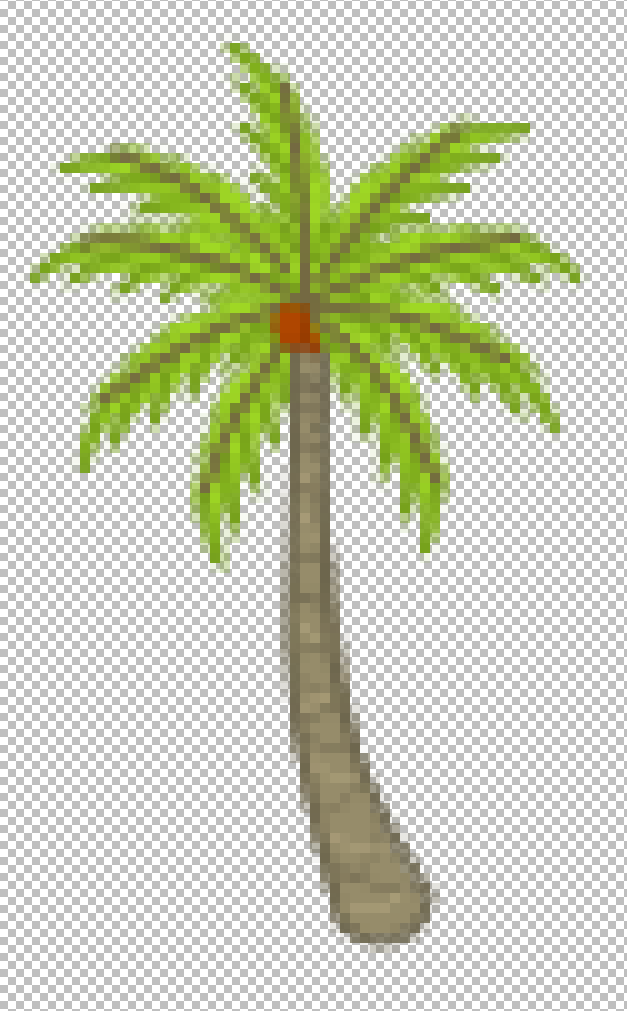
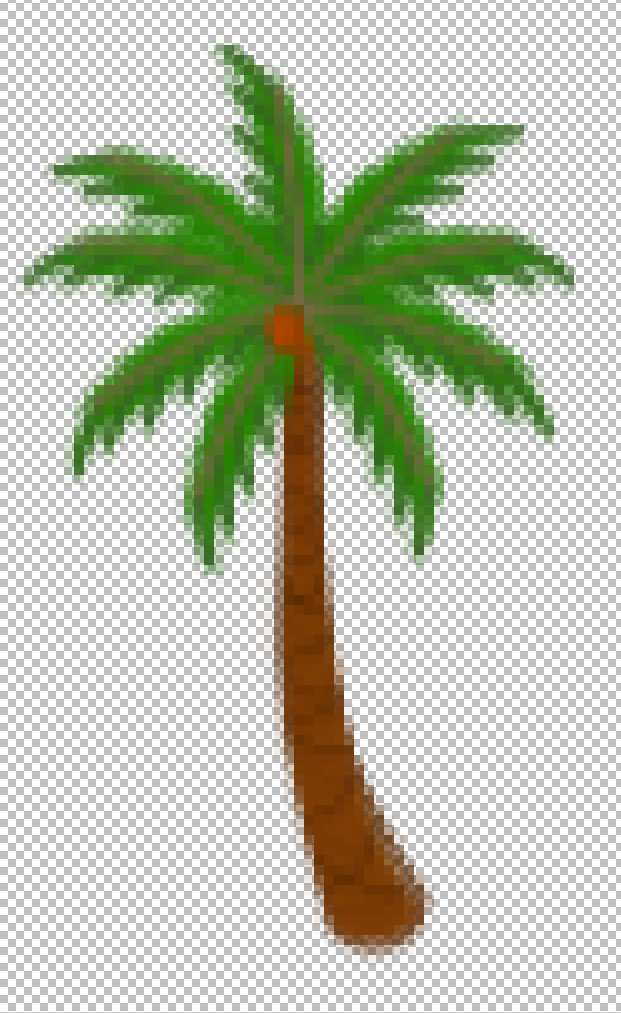
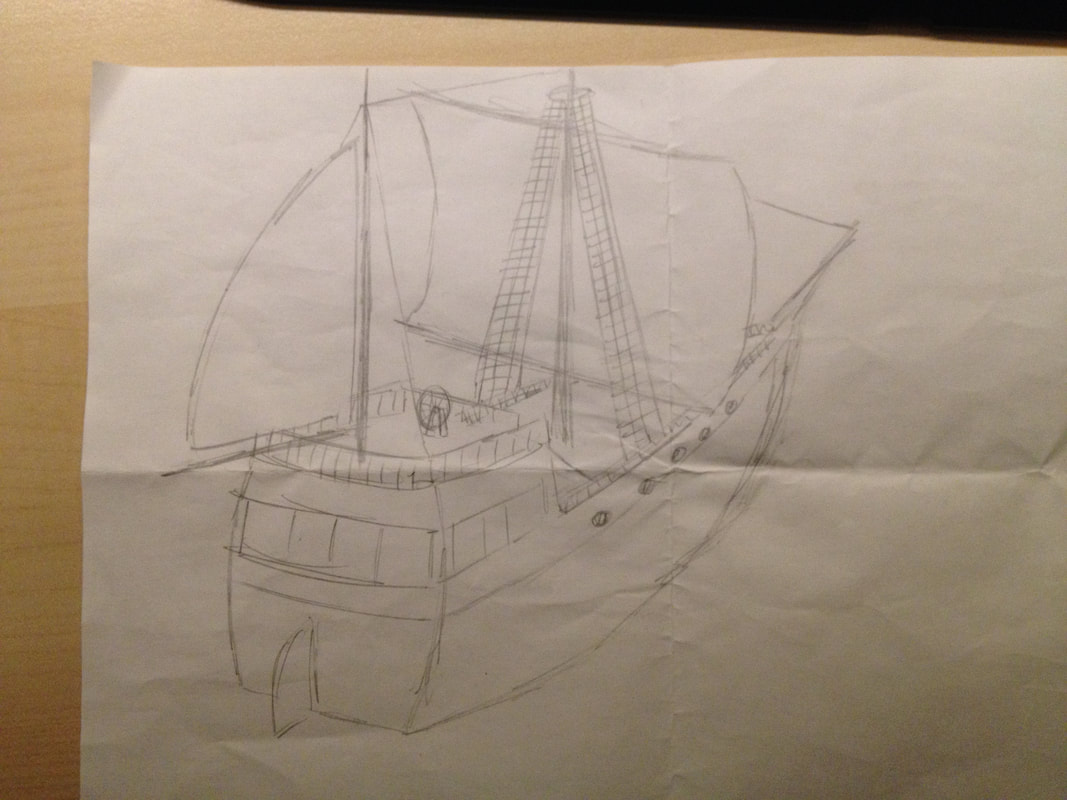
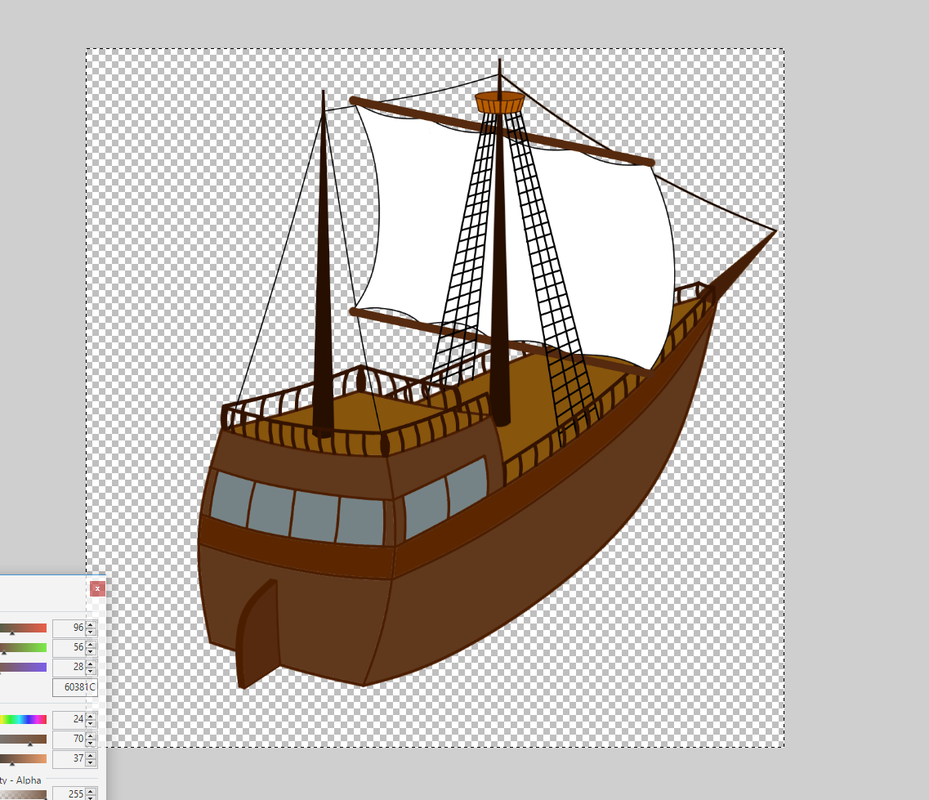
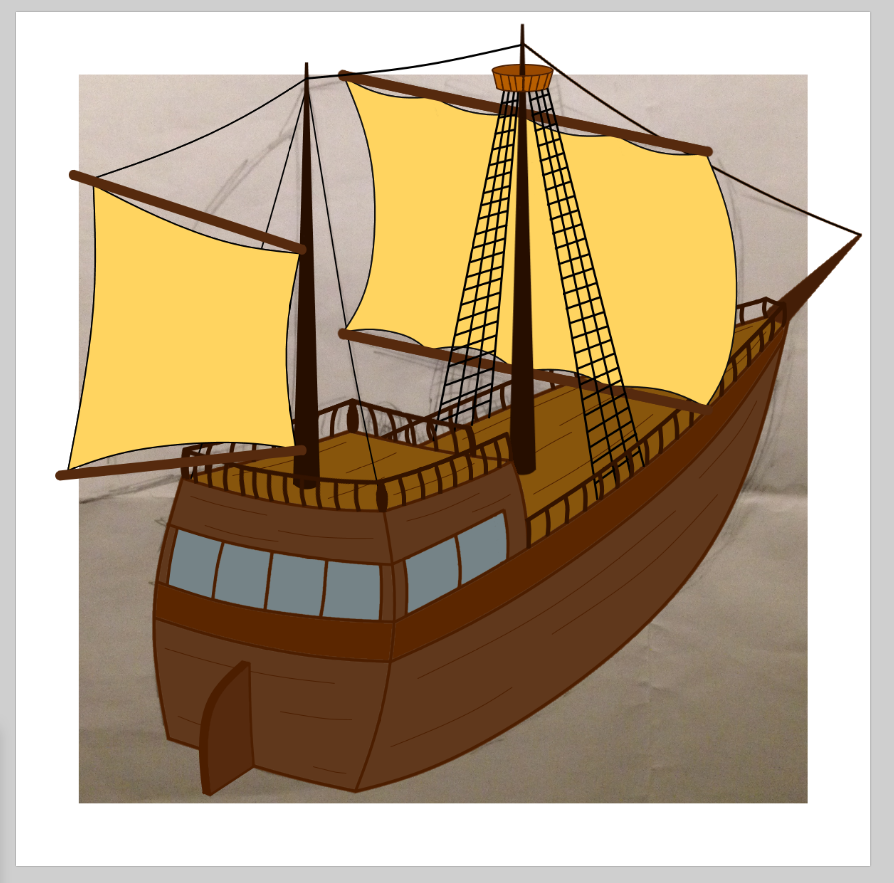
Speaking of progress, the palm tree pictures were also updated:
Speaking of progress, the palm tree pictures were also updated:
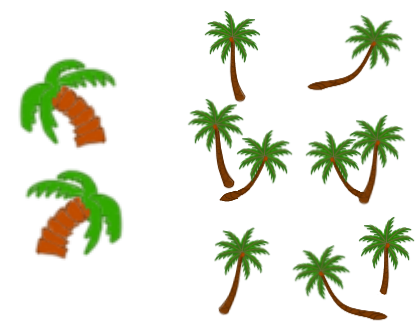
Again, drawing better pictures meant that repetition became more obvious and more versions were required. In drawing the new versions, I decided to do some research into how palm trees actually look. This led me to first draw a way too detailed version, which turned out way too blurred in the game. After that, I found that more realistic colours didn't stand out very well against the land tiles I created, so I moved much closer to the colours I used in the old image. Hence the evolution of the KST palm tree:
Those are the Key, Shovel, Treasure updates for now. I'm happy with the progress over the last couple of weeks. In a couple of weeks more, with a bit of luck, we'll be able to provide you with a link to the finished version.
- Willem -
- Willem -


 RSS Feed